A Raw Deal
The Difference Between RAW And JPG Formats
When I started this whole photography journey, I really just grabbed my camera and started snapping photos. They were of just about anything and everything that I could find. I had been impressed by the quality of the image (which was really easy, being that I really had absolutely no idea what I was doing), so I immediately thought that I was going to easily swoop in and become a photography great.
Then reality set in.
Up until that point, I hadn't worried about any of the settings. If there was an auto feature (like auto white balance and ISO settings), I was using it. Hell, the programing in the camera would know better than I would, right?
There is so much wrong with that thought that I would easily be able to write several blog posts on that alone. However, it was the epiphany that I had after I got used to some of those settings that drives this particular post. And that is that, as a photographer, you really do have to worry about so much more than just the moment that you are releasing the shutter. You really do need to worry about the file itself.
To help me with this, I did exactly what I do every time that I don't understand what I'm looking at: I research it online and watch whatever YouTube videos that I can find (for the record, these blog post topics will eventually become YouTube videos as well).
First was the reading and researching part. I know that normally "researching" would also encompass the YouTube videos, but for the purpose of this blog post, it doesn't.
I had found another setting on my camera's display screen that I didn't understand (surprise surprise), so I started with the online user's manual. That setting was the format selector, which I actually understood. The part that I didn't get was the choices that were there.
I found a few that were simply called "L," a couple of "M," and a couple that were labeled as "S." Each had an icon that looked just like the others, but with subtle differences, like as if they were becoming more or less pixelated. To add to the confusion, the last two options were "RAW" and "RAW + L." But after checking the manual, I got it (God I felt like an idiot).
The icons were showing the basic resolution for JPG files. The more it looked pixelated, the lower the quality of the image. And the letters were the sizes, which were basic enough. L meant that the photo would be large and M implied that the photo would be a medium size, in comparison. Bet you can't figure out what S meant.
The last two were a bit more interesting because RAW meant that it would save a completely different file format. It also meant that the file that was recorded (the photo) was I whole lot bigger than the JPG's. To understand the difference more, I again turned to the internet.
Most other photographers, especially professional ones seemed to preach using RAW files for your work (I would too now). One video that I had found mentioned that you have billions of colors more to work with in a RAW file than a JPG; hence why the file is so much bigger. So, if that's the case, does that mean everybody should just use RAW? Why even think about JPG's?
The answer is that it really just depends on how you are using the photos.
If you need a photo faster, smaller, or you do not plan on doing too much editing, then a JPG will probably do the job pretty well. If you are going to be doing much more editing and post-production and disk space is not as much of an issue for you, I would definitely suggest using RAW. Just be sure to do the editing before sending the photo off to wherever it's going.
Trust me. Unprocessed RAW photos are anything but flattering to the subject that you are photographing.
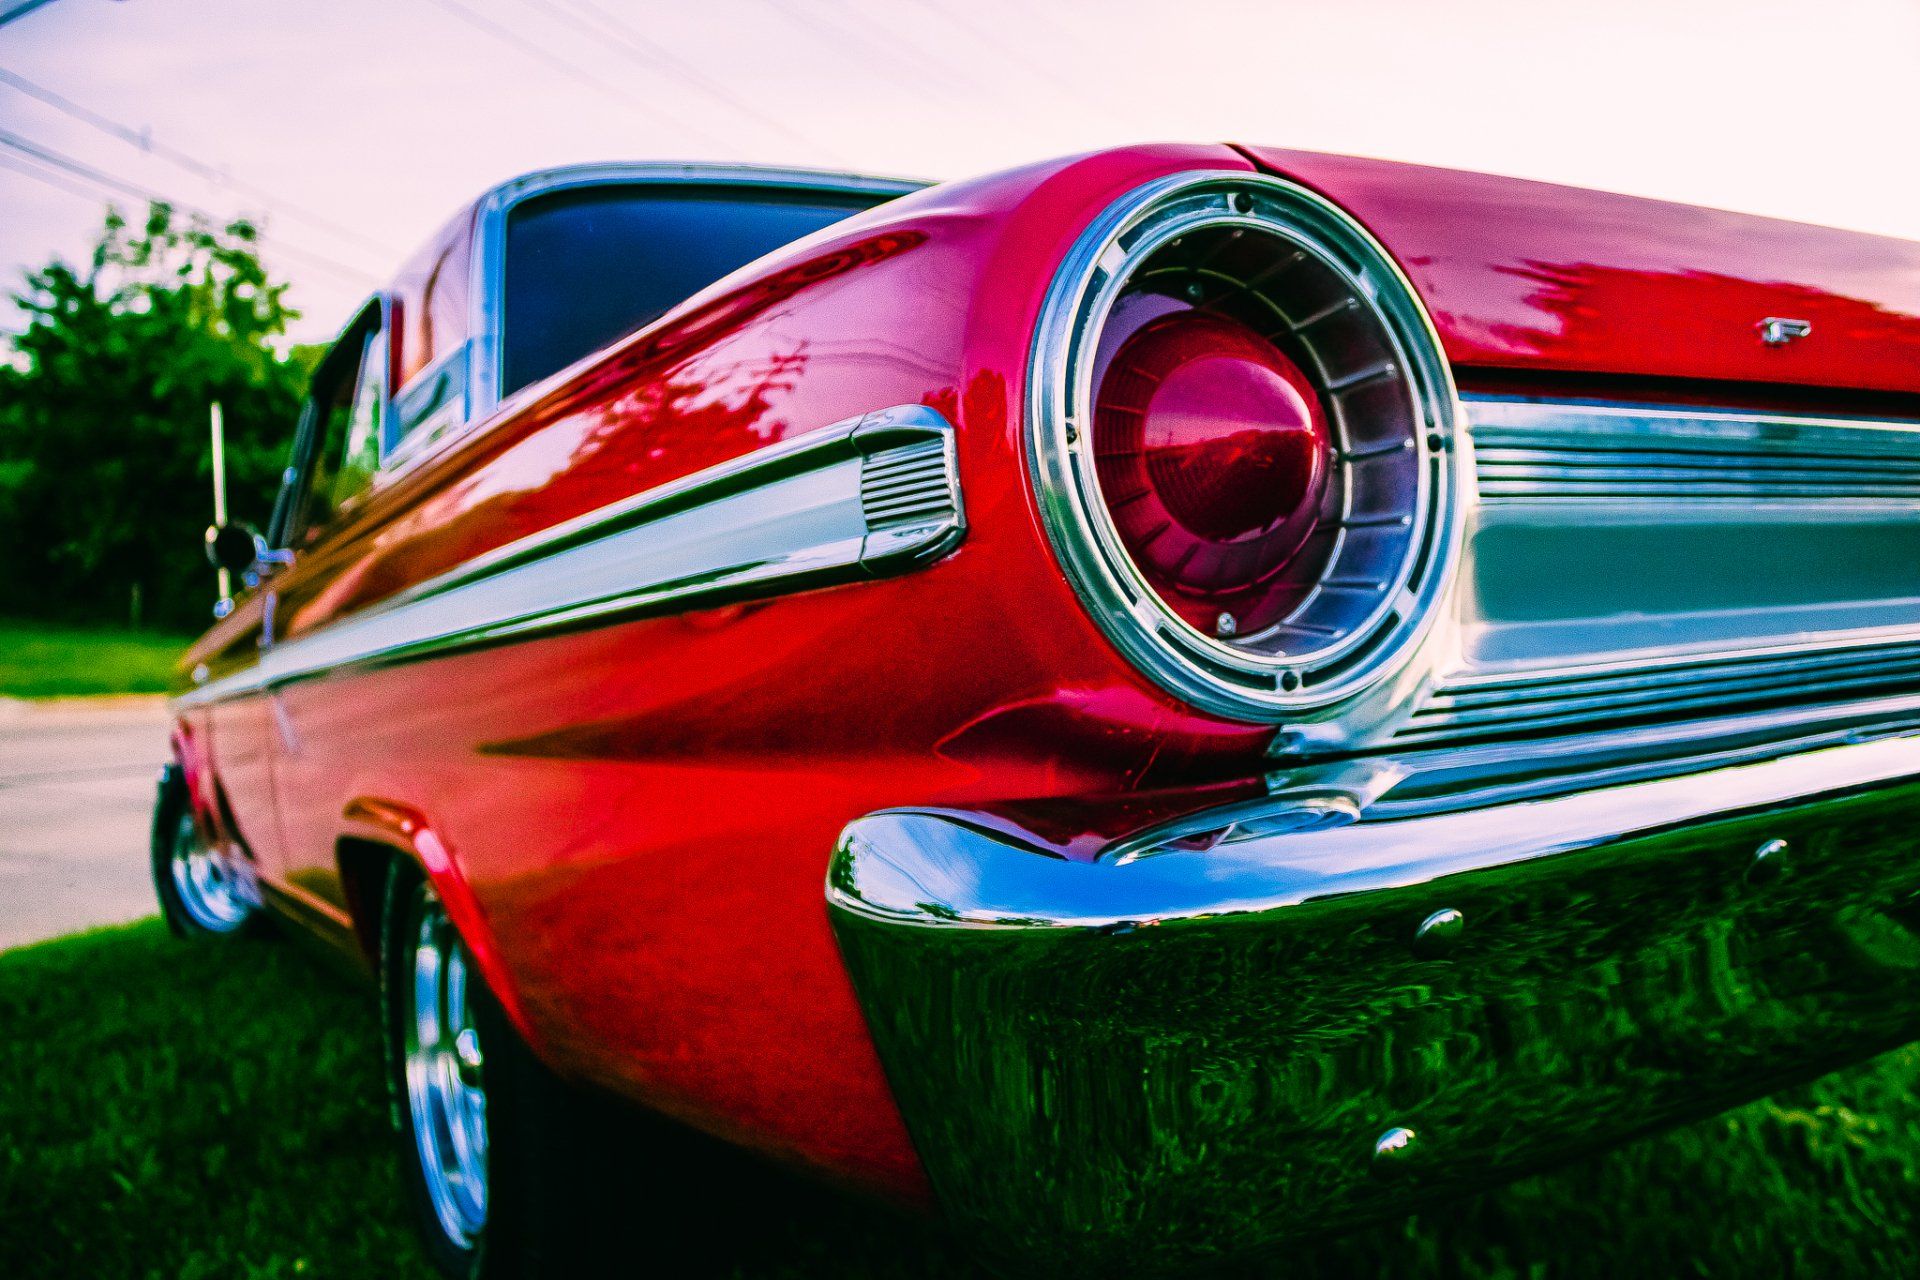
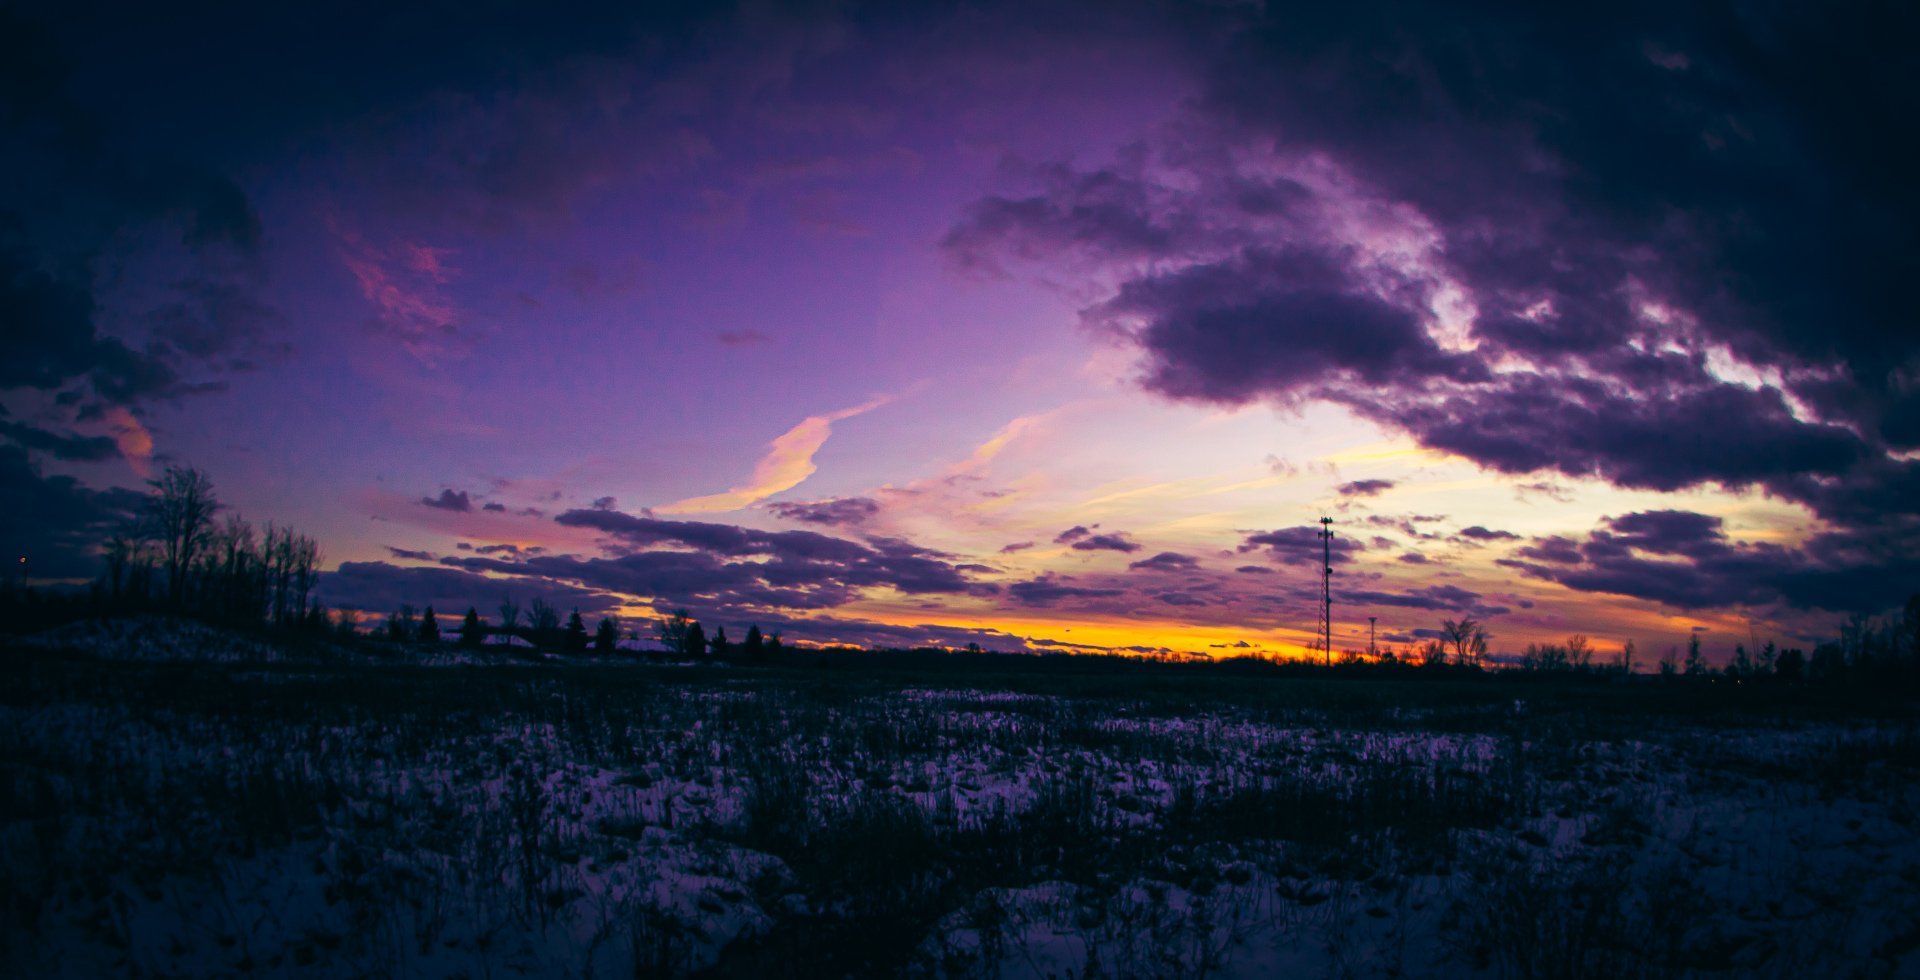
That is exactly why I chose to use the "split-screen" photo for this post. It shows the difference between a processed and an unprocessed RAW photo. So, if you're going to edit and process these photos, where do you go with them?
There is a slew of programs that you can use for RAW photo files. And if there is a slew for RAW files, there are at least three times as many that will accept JPG's (I am making those numbers up. I don't have an accurate count of programs out in the world for either of them). And each one has its own upsides and downsides. It just depends on what you want to do.
I will go more in depth on the different editors out there and which ones I would use or suggest in another post, on another day. This is just about the files themselves.
One of the many videos that I had landed on for this explained it pretty easily. Think of your photos as food. Meals to be exact. Which way would you prefer to have them?
Think of the RAW files as a homemade meal. You choose the ingredients and the preparation. You can then take those ingredients and make anything you want and in any way you want. You have total control of the end product (unless you're like me and can't cook to save your life).
JPG's can then be thought of as a restaurant; some fast-food joint you like to go to. Sure, you can choose what you want made and you can do a little tweaking of the end product, but for the most part it's already finished.
Now this comparison really brought it all in to focus for me. I was able to wrap my head around what I needed and when a little easier than before. I mean, we've all been there, right? Sometimes you need the food to be mostly prepared for you beforehand, but nothing beats a homecooked meal.
Although I'm not going to be getting into the different editors in this post, I will say this much. Adobe Lightroom seems to be the way to go, because it will work with both RAW and JPG files. And once you have your RAW photo exported into a JPG, you can always do other touchups with GIMP (which is the most affordable alternative to Adobe Photoshop but watch out for that learning curve).
Personally, I set my camera to "RAW + L." This gives me two copies for each photo that I take: one in RAW and another in JPG. You never know when you'll want one or the other. It just comes down to what you need it for.
So, what do you need to feed today?
Social Media Links