The Big Three
Back To The Basics

I have always been open about the fact that I am, for all intents and purposes, a beginner photographer. By that, I mean that I don't even have a year of experience with my camera. At least not as of this blog post.
That will change though, because the name of the game is progress, not perfection. It always has been, and honestly, it always will be. We simply strive to get better, without a metaphorical "finish line" in mind. And I think that the sooner we understand this, the sooner we will be able to thrive and support the other artists we know.
But that is a topic for another day.
The theme that I've decided on for my content (this blog, the YouTube video, etc.) is "a beginner photographer helping beginner photographers." What do you think? It's really clunky, huh? Yeah. I thought so too, but oh well. The name of the theme is definitely not important.
No. The important part is trying to teach everything that I know, as I learn it. That means, of course, that there will be plenty of mistakes for you to learn from, provided by me (and I am absolutely positive that there will be plenty of them, trust me). But that's the fun of it, right?
The first thing that I feel we should get into is what I like to call "The Big Three of Exposure," (Now that's a name). These are the three settings that you will find every DSLR or mirrorless camera, regardless of make or model. You can also find some/all of these on your phone, but that could be different per manufacturer (mine only has one of them, but my girlfriend's has all three).
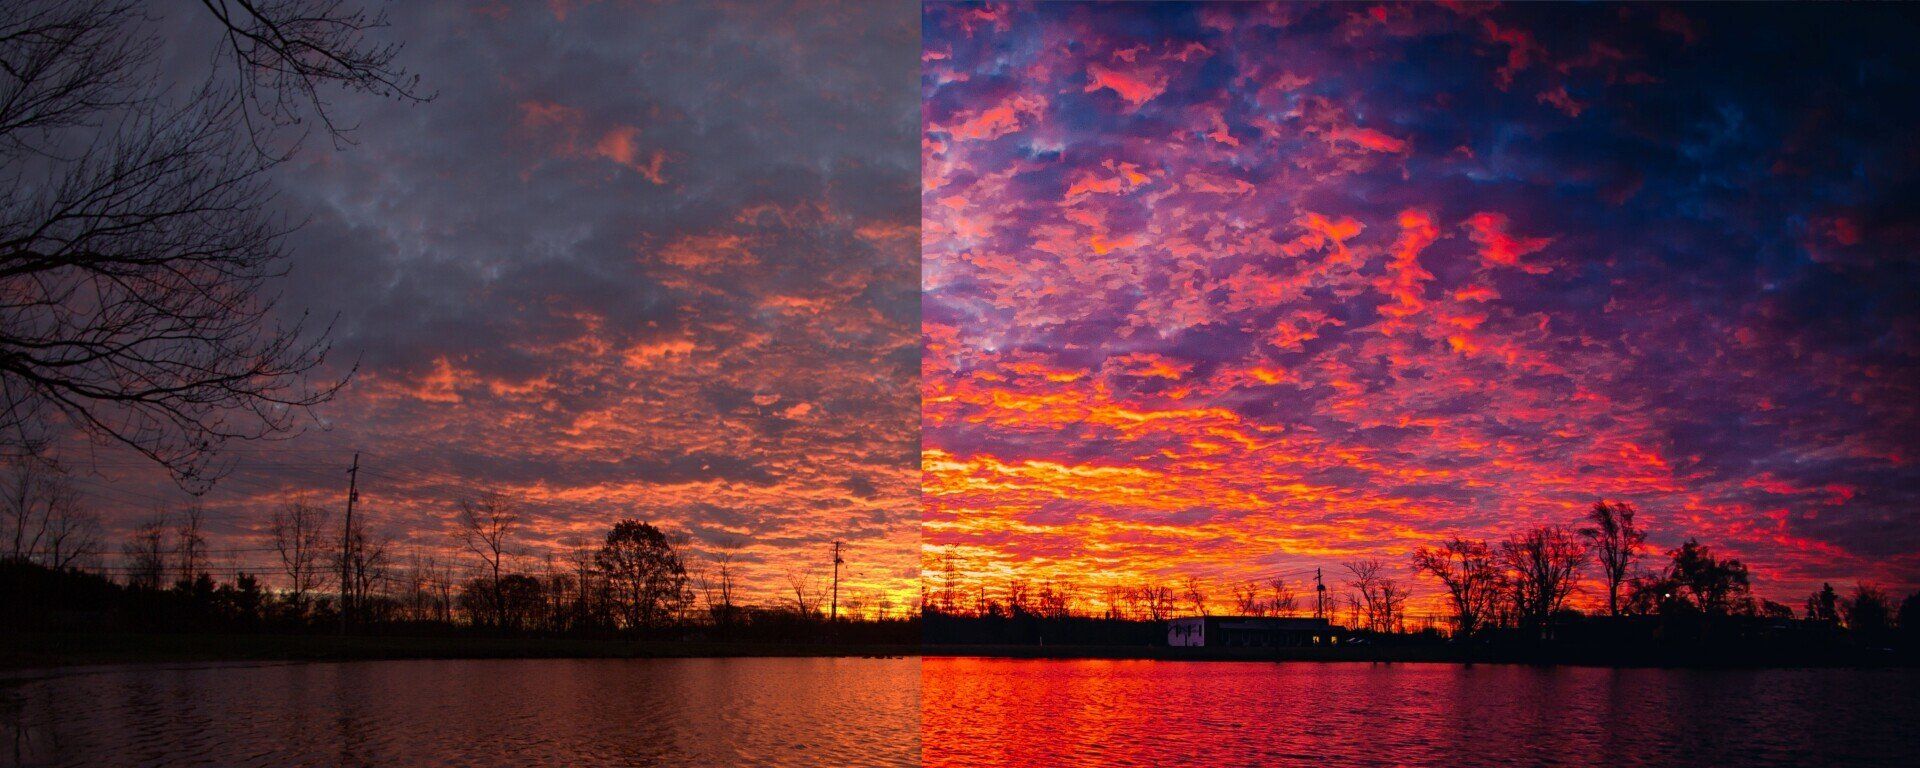
They are the ISO, aperture, and shutter speed, and they can be individually adjusted to make sure that your photo isn't underexposed (too dark) or overexposed (too light or "washed out"). Each setting has upsides or effects that they can add to your photography. And, if improperly used, each has its own downside that can easily destroy your work.
The first to be concerned with would be your ISO setting (or as I like to say, Iso). This is the one that will change your light and exposure levels the most drastically and refers to how sensitive your sensor is to light. The higher the number value, the more sensitive your sensor will be, and vice versa.
The upside to this is exactly what I mentioned, it has the ability to alter your exposure levels the most drastically. However, the downside is that if you set it too low, there is no way that you will get your photo bright enough to be seen at all (unless your composition is completely lit up brightly enough to make up for it). And if you set it too high, you risk not only washing out your photo, but also causing some serious pixelation (making sections of your photo too "digital" looking, if that makes sense).
I've already made a mistake with my ISO settings, but that is a topic for another day and another post.
Our second setting is the aperture. This is referring to how far the lens is opened up and is also called an F-stop (which is because the aperture is depicted as F, plus the value, such as F1.4 for example). The smaller the number value, the wider the lens opening is.
Picture the lens like the human eye. If you know the biology of the eye, then you would know that your pupil expands or contracts to adjust for light, which is why you cannot see when you walk into a darker room after being in a bright setting, like outside on a sunny day. The more it expands, the more light makes its way in and the more it contracts, the less light gets through.
It is the same with your camera. The smaller number values means that it has expanded and the greater numbers indicate that the lens has contracted. And this is a way to manage how much light makes its way into the sensor. If you have a higher F-stop number, then your photos will be darker and underexposed, while the lower numbers mean that the opening in the lens is wider, therefore, your photos will be lighter and overexposed.
There is also a small "side effect" to adjusting this setting. The lower F-stops not only make your photos lighter, but they also make your focal range smaller (that is the best way that I can word it). In other words, if you are using an F1.4 for example, the subject of your photo, or whatever you decided to focus on, will most likely be the only crisp component to your composition. The rest of it (whatever is in the background or foreground) will be extremely blurry (which is called bokeh, for the record). If you have a higher F-stop value, more of your photo will be in focus, producing a crisp photo that shows all of the details in all of their artistic glory (or whatever you want to call it).
Your last setting seems a bit self-explanatory, and that is shutter speed. This is a setting that is measured in seconds and determines how long the shutter on your camera is open. For example, 1/250s would be that fraction out of a second and means that the shutter will be open for that long after you hit the button. On the other end, 30s would mean that your shutter will be open for 30 seconds. (It's somewhat important to note that this setting may be only displayed as a number and doesn't usually have the "s" actually on the end.)
When your shutter is open, it lights light in, which is how your camera is creating a photo in the first place. Therefore, the longer it is open, the more light gets to the sensor. So longer times will create brighter photos that can be easily overexposed and shorter times will do the opposite.
Again, just like your aperture, there is a "side effect" to take into account. If the shutter is capturing more light (and more data for your image) the longer the shutter is open, then it is also capturing everything that is happening in front of it during the same time. So if the subject moves, the camera will catch it.
This is how photographers capture "motion blur," which are great at expressing when your subject is moving or not (it's also how a capture "light trails" for my abstract photos). On the other end of the spectrum, the shorter times enable you to capture your subject moving while making a crisp image. It's just more to keep in mind.
With these setting being properly set up, you should be able to easily
Social Media Links