Unfiltered (Volume 1)
That Little Something Extra to Make Your Photos Pop

If you're anything like me (and I'm sure some of you are), you probably find that when you get into something new, you tend to get into it way too hard. By that I mean that in a relatively short amount of time, you find yourself sitting in the middle of a whole bunch of gear that you probably should have waited to buy until after you had learned more about whatever it is that you just got into. In this case, I fell in love with photography and now have a whole heap of stuff for my camera (all sold to me as inexpensive as possible). However, fun fact: It hasn't even been quite a year. And I haven't gotten anything in months.
Okay, so this is definitely an issue that we as individuals probably should resolve sooner rather than later, especially with inflation and the rising gas prices. But that leads me to write about some of my favorite (and cheapest) pieces of equipment: My filter collection.
Have you seen how many are available to us out there? I'll tell you what, take a minute or two and click through the link below to get to Amazon. Do a search on your camera or lens thread size and be sure to put the word "filter" at the end. Check out how many options there really are. Go ahead. I'll wait.
The last time I checked, hundreds, if not thousands, of results came up (as I said, it's been a while since I've bought any equipment). What are you supposed to do with that? Well, that's where I come in. I'm going to tell you everything you need to know about these filters in this little series that I've aptly named "Unfiltered."
In this particular blog post, I wanted to take a moment and just discuss the different filters you can find out there and maybe give you some idea to use them (if it's not already glaringly obvious that is). Hopefully this will give you a better idea of what's out there (I'm sure there are plenty that I don't even know about).
Basics
What I consider basic is, well, basic. These are those filters that almost everybody has, even though I really don't know if that statement is actually true. These are practically given away in various bundles found on Walmart or Amazon's websites.
Have you ever ordered a new lens, or even just a new add-on lens piece, and found that your order came with that little leather case or fabric pouch? When you open that up, you undoubtedly find three brand new filters: a UV, a CPL, and an FLD.
These I consider to be basic because either they don't manipulate your image at all, or they manipulate your image in a very small way. Cool, right? I mean, you were really just trying to get a certain piece of equipment, but now look at you. You have even more cool stuff! I mean, except for the fact that two-thirds of this package is 100% worthless to you and your imagery.
The UV (Ultraviolet) filter was originally used for film cameras. It protected the film from the UV rays that came from the sun, preventing any damage to your hard work and your hardware. It also protected your film to make sure that you didn't destroy it by taken images either into the sun (why would you do that?) or just in general out in the sun. Now, in the age of digital cameras, it is completely unnecessary. Well, actually, that's not completely true. However, all it is good for is protecting the face of your lens because it is transparent and clear. But how often do you really need this protection? Really?
The FLD (Fluorescent Light-Day) filter is another interesting, yet ultimately useless piece of hardware. This is another one that used to be vital to a photographer's artform back when we were still using film. You see, with a film camera, your exposures were just fine when using all kinds of different light sources. However, that wasn't the case if that light source was fluorescent. If that was the case, you would wind up with a green tint to your work. With that in mind, they found that using this pinkish-purple tinted filter offset the green and cleared up the images.
And now? Now we have digital cameras that adjust for this. And as an added measure of protection for our photos, we have our editing software. Those of you who use/own a copy of Adobe Lightroom, have you ever wondered why there was that one slider labeled "tint," but it only went from green to a magenta-like purple? This is exactly why.
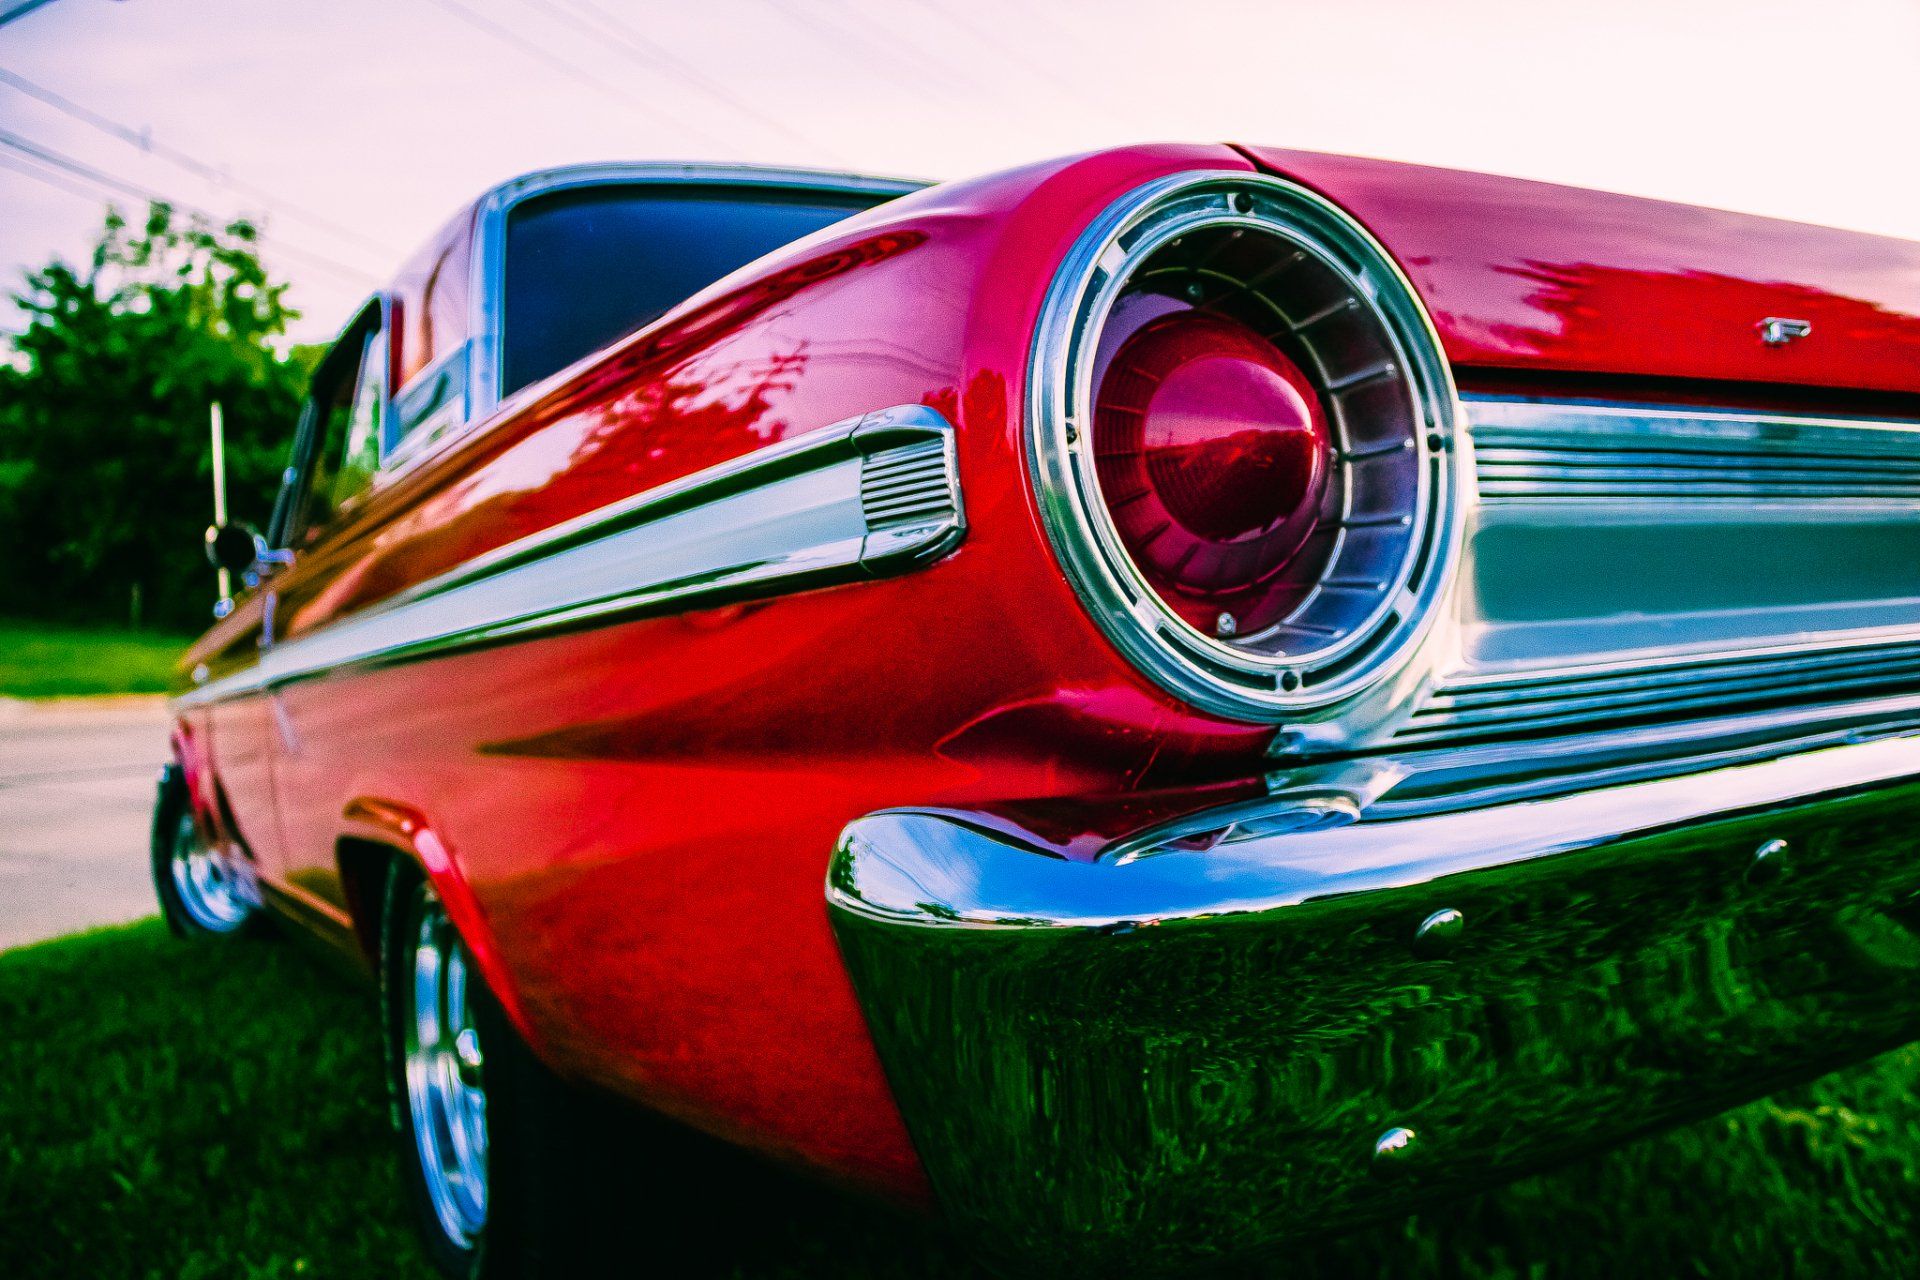
The last of the "Basic" filters is the CPL (Circular Polarizer/Linear) filter. You may wonder why I had skipped this, only to touch back on it now. Well, that's because this is the only filter in the kit that isn't worthless. And honestly, its uses definitely make up for the lack of practicality from the other ones.
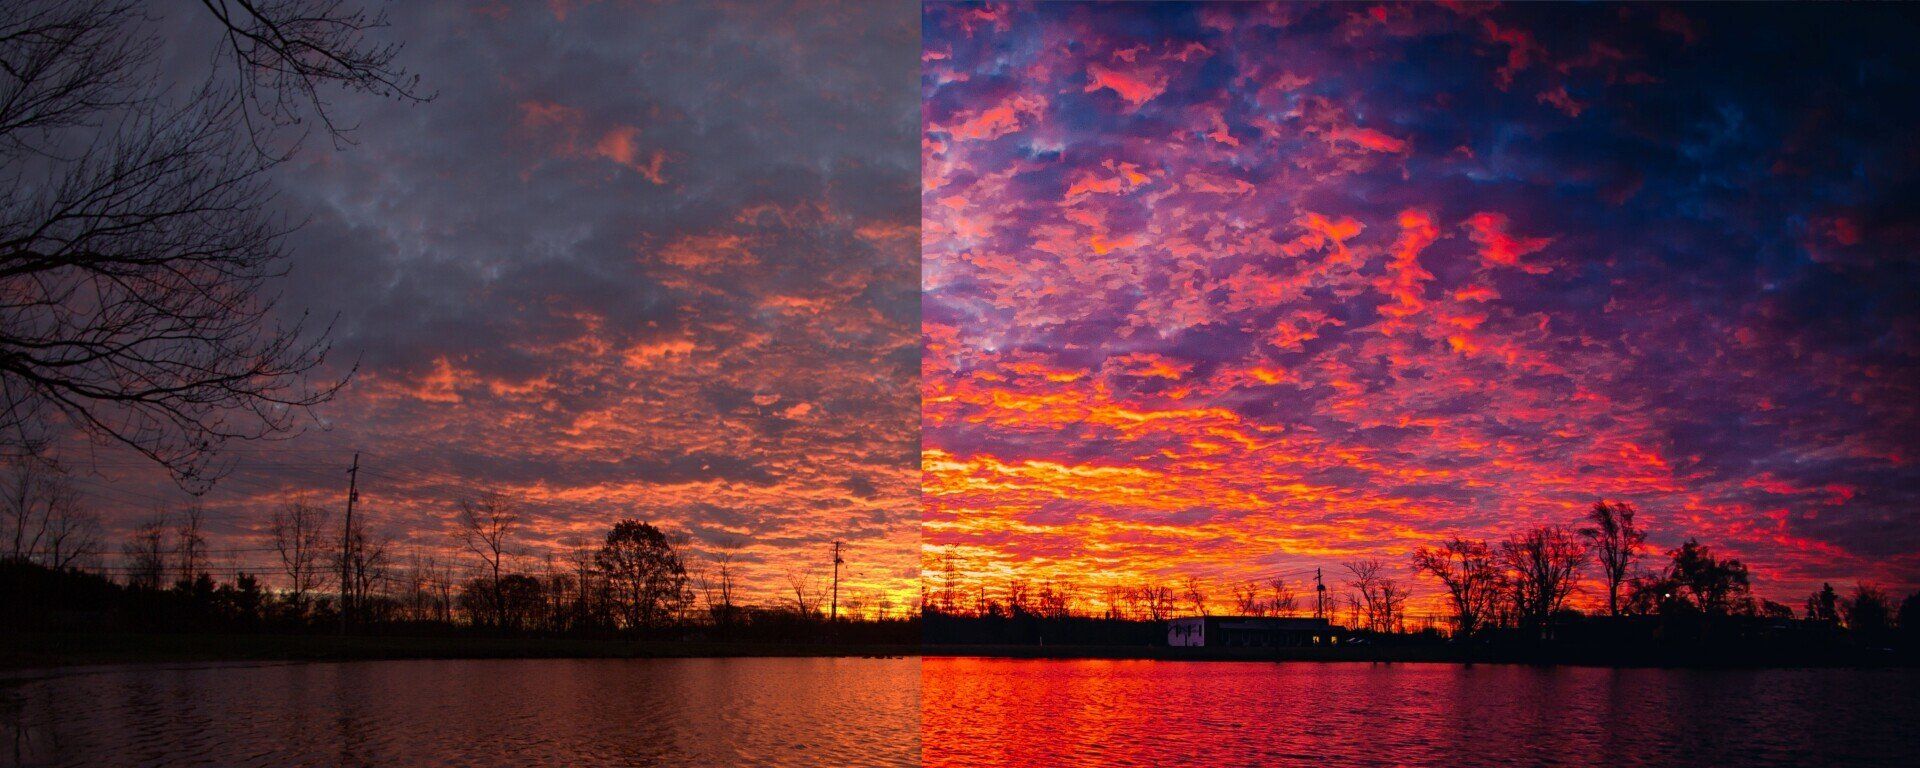
I cannot remember the last time I went out to get photos and didn't have one of these handy little guys in my camera bag at the very least, unless it was in fact mounted on my lens. You know those polarizing lens on your sunglasses? Same concept. This will help do things like add to the saturation of colors in your photos (making that blue sky a beautifully deep shade and making those flowers so colorful that you can hardly believe it). But that's not all. Sick of that glare from the sun bouncing off of that pond or lake that you're trying to capture? Well, this filter will actually block the glare out, sometimes even allowing you to see right through it and into the water.
There is one catch to this effect though: the sunlight. If you're shooting directly into the sun or in that general direction, it won't help your colors at all. In fact, the same is true if you're pointed away from the sun (this part I had simply learned from another photographer and never actually tried myself). For the best results and the deepest saturations, try to angle your shot so that you're roughly ninety degrees from the sun, in either direction.
Neutral Density (ND)
These I had to stick in its own section, and rightfully so. These are probably one of my favorite filter types and that is because of what they really do for you: allow you to capture motion.
The way it was explained to me, this filter works by blocking out light going to the lens. Everybody seems to buy into the comparison of putting sunglasses on your camera (which honestly starts to confuse me because you would think that would be the polarizer filter from the last section). However, I believe there is a much better comparison out there. What is that you ask? I don't actually know, I'm just sure of it. Once I figure one out, you will be the first to know.
This type itself has so many different choices to it. You can get different strengths (the lower the number, the weaker it is at blocking light). And just like the basic filters, you can usually get these as a kit. Typically, that kit would come with something like ND2 to ND10. Or at least something like that in my experience.
You can also get gradient ND filters, which are perfect when you have only a portion of your scene that you need block light from, such as skies that are way too bright, or maybe the motion is only in one half of the shot and the other is darker. Or maybe something else entirely. You can be much more creative with them. These gradients come not only in varying strengths like the other ones, but also with different types of divide (I know those aren't the right words for it, just play along already). You can find them in soft, medium, or hard with the soft being a gradual transition from the filtered to unfiltered portions and the hard being almost a solid line between the two.
Now we already know that light is kind of, sort of, the MOST important component to any photo, right? So why in the world would we want to go and block the light out? And better question, why in God's name do I keep asking reader's rhetorical questions like this? The second answer is simply, I'm a weird guy (sorry, not sorry).
The first is that you can use this to have even more fun with your photos. Let me give you the best example that I can think of (the only thing I use mine for): I use ND filters to capture what's called motion blurs (a term that I just realized 90% of you are probably already familiar with). This is when you slow your shutter speed down so instead of capturing detail from the moving component in your shot, you catch a blur from where the component started moving when you hit that shutter release to where the component is when your shutter closes. It looks really cool and can be used in a few different areas very effectively (performers moving on stage, traffic going down the road, smoothing out bodies of water because you're essentially capturing the "average" of where the water's surface is, etc).
Do you see the one issue here? We've already discussed what happens when you decrease your shutter speed. It allows a lot more light to reach your sensor. Which would theoretically whitewash your entire image. Enter ND filter.
With the ND filter blocking out light, your sensor is only getting a certain amount of that light when it comes in. Therefore, you are able to capture smooth, well exposed images with detail in the right places (whatever was standing completely still during the shot) and smooth motion blur for everything that moved.
And you might say "well that sounds cool and everything, but I don't want to keep switching out these stupid filters until I find the right one." To which I would 100% agree. That's why I went out and got a variable ND filter.
A variable ND filter is like having all of the different strengths (although without a gradient) in one easy-to-use filter. It's perfect for almost every photographer. I bought one a little while ago and haven't touched any of my other ND filters ever since (I may just try to sell them). I honestly think that every photographer needs to have one in their camera bag, but we'll leave my personal picks alone. I mean, I need to save something for another blog post, right?
Don't take my word on this one though. Check out some by clicking on this link: Variable ND Filters
Macro Filters
If using a polarizer or an ND filter is like putting sunglasses on your camera, then using a macro filter is like putting a magnifying lens on your camera. They're used to get those really up-close photos of smaller subjects, like insects or smaller flowers.
Obviously, these are nowhere near as widely used as the first two on the list. I mean, how many times have you been taking photographs and thought, "Man I wish I could get the detail on that ladybug's face?" With that being said, there absolutely is a niche for these styled photos.
You have your insect enthusiasts or entomologists of course. But more in way of the average creative photographer, you can also use these to get a brand-new perspective on things. You could capture the texture of an item or a subject closeup, something that most run-of-the-mill photographers really can't do. This automatically gives you a step up on the "competition."
These filters coming in varying strengths and can typically be bought in sets. The set that I have includes +1, +2, +4, and +10 (Wow, what a jump). The +1 filter isn't all that strong whereas the +10 filter really gets you in there. I really haven't looked to see if there are any stronger macro filters. In fact, if there are, I might be interested in buying them at some point.
If you know of any stronger macro filters (stronger than +10), please let me know in the comments.
Colored Filters
Here's a type of filter that I have, but use so rarely that I've almost completely forgotten about them (if it wasn't for the case falling out of my lens bag and landing on my foot, I would've completely neglected them). These I've only found a couple of uses for.
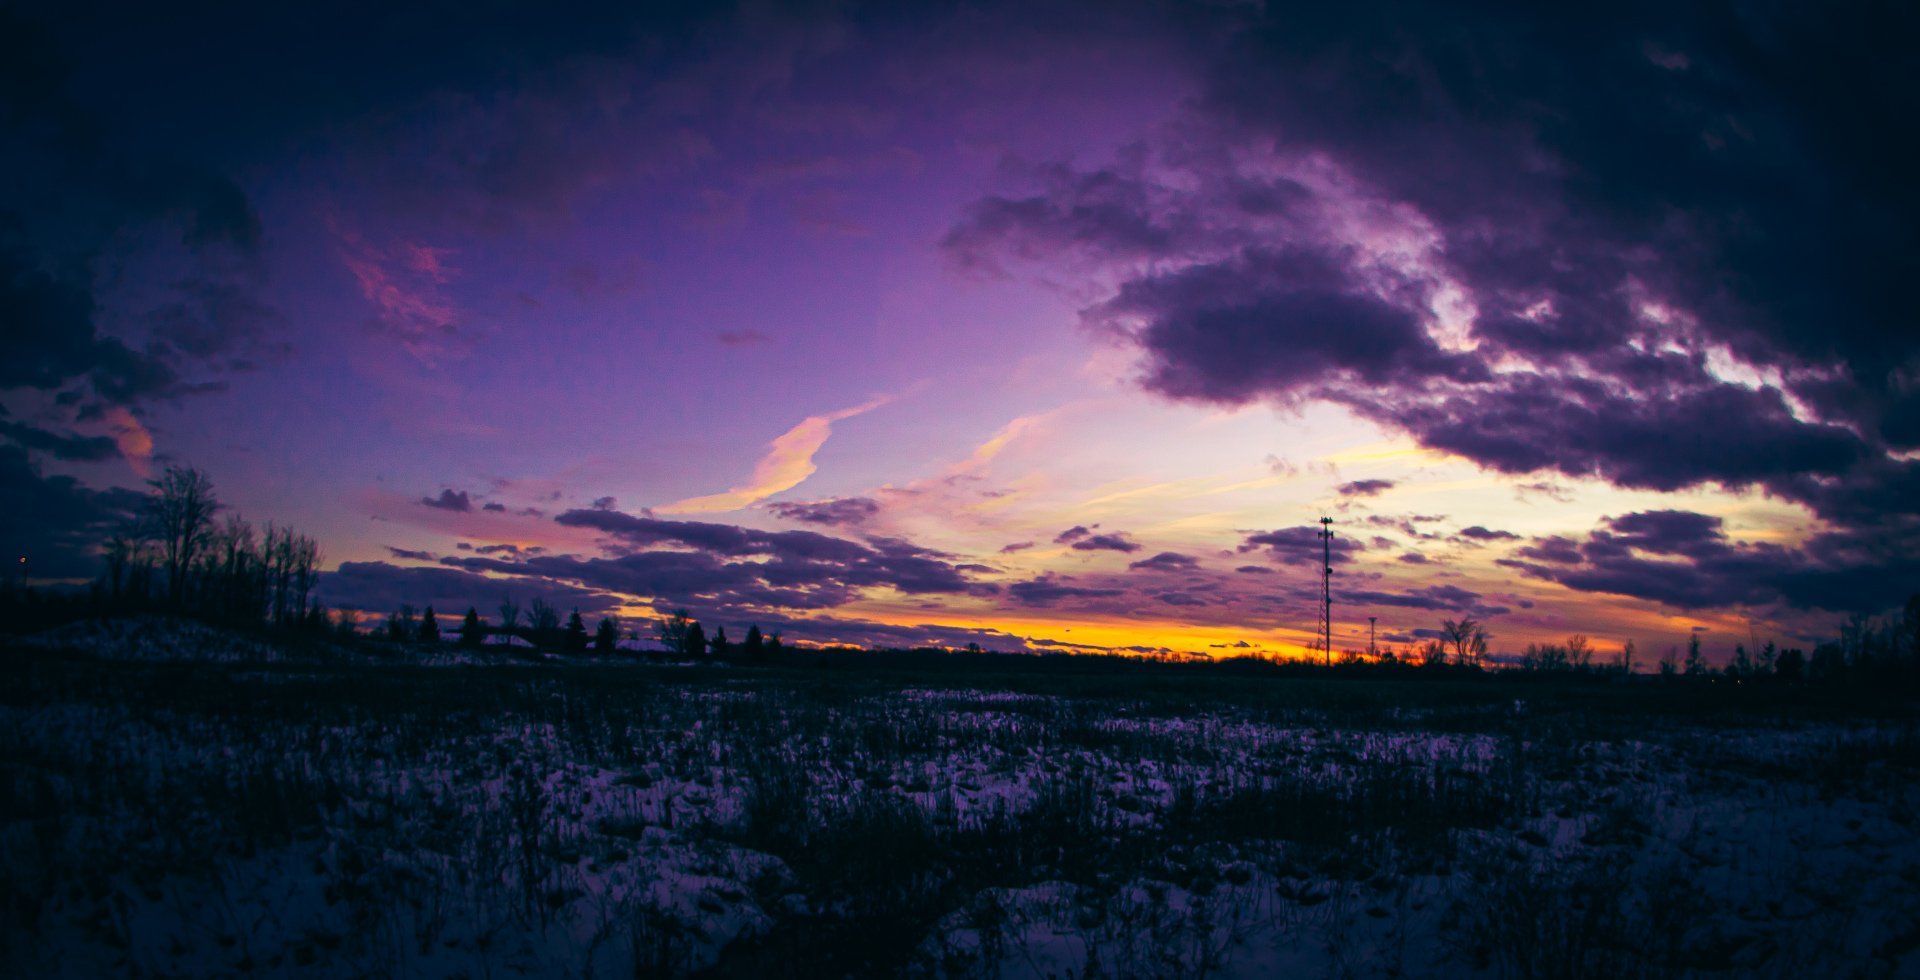
Just like the ND filters, color filters can be found in either solid or gradient filters. Meaning that you can get them so that they're all one color or only half of it is covered. I've occasionally used the solid brown to give a photo a grungy or grimy feel to it (worked like a charm really. I've also used orange, red, and yellow gradient filters to only increase the tones and hues in the sky during a sunset or sunrise.
In classically accepted "art" terms, color is one of the biggest components at work. Therefore, try them out and go nuts. If the photo didn't turn out the way you wanted, oh well. I mean, we do work in a digital media, which means that you can always either use an editor to adjust the image or you can just delete it. It's not like your wasting film or something.
Effects Filters
Finally, we have your effects filters. Now this isn't really some kind of common-place category amongst photographers or whatnot. It just sounds a lot better than simply writing "Other."
This is where you find some of the coolest, most creative filters. For example, I have a kit that turns any and all sun or light glares into a perfectly formed starburst. You can choose either four-point, six-point, or eight-point bursts and even rotate them so that the lines that form the points lead in whatever direction your heart desires. I use this for photos of new cars that people who get them as gifts want documented to show off. Or maybe on an engagement announcement to give that engagement ring a little more pop.
There are so many more different effects out there, you only need to look for them. You can buy these in either circular styles to attach straight to your camera or, in some cases, diopters (which are really just handheld filters that you hold in front of the camera when you're shooting. Either way, these are your real chance to get really creative.
Try searching for them in Google. After you search a few times, you'll find that the ads just start popping up while you're online (which creeps me out as if they're watching you). There are dozens of companies in the world that specialize in just this, and damn are they good at it.
No matter what you do or photograph, you can definitely find a filter that will help with your shots. From the basics of earlier, to the extra little effects that you can try to add that little something with to your creative shots, filters can give you that edge you need to bring your photo from ordinary to extraordinary (how cheesy was that, huh?). Just remember that they aren't always necessary, and to use them somewhat sparingly. Overuse can make your images too complicated or under/over exposed. It could make them way too busy even.
No matter what, always remember why you started into photography. Inspire and be inspired, your work is what could give other artists inspiration, and vice versa. And above all else, enjoy your work. After all, that is why we all get into this artform.
Take what you've learned here (if anything), go forth and express yourself, and, as always, I will see you on the other side.
*You can try using the link below to check out a search list of different camera filters. Enjoy!!!
Social Media Links